Sunday, 10 November 2024
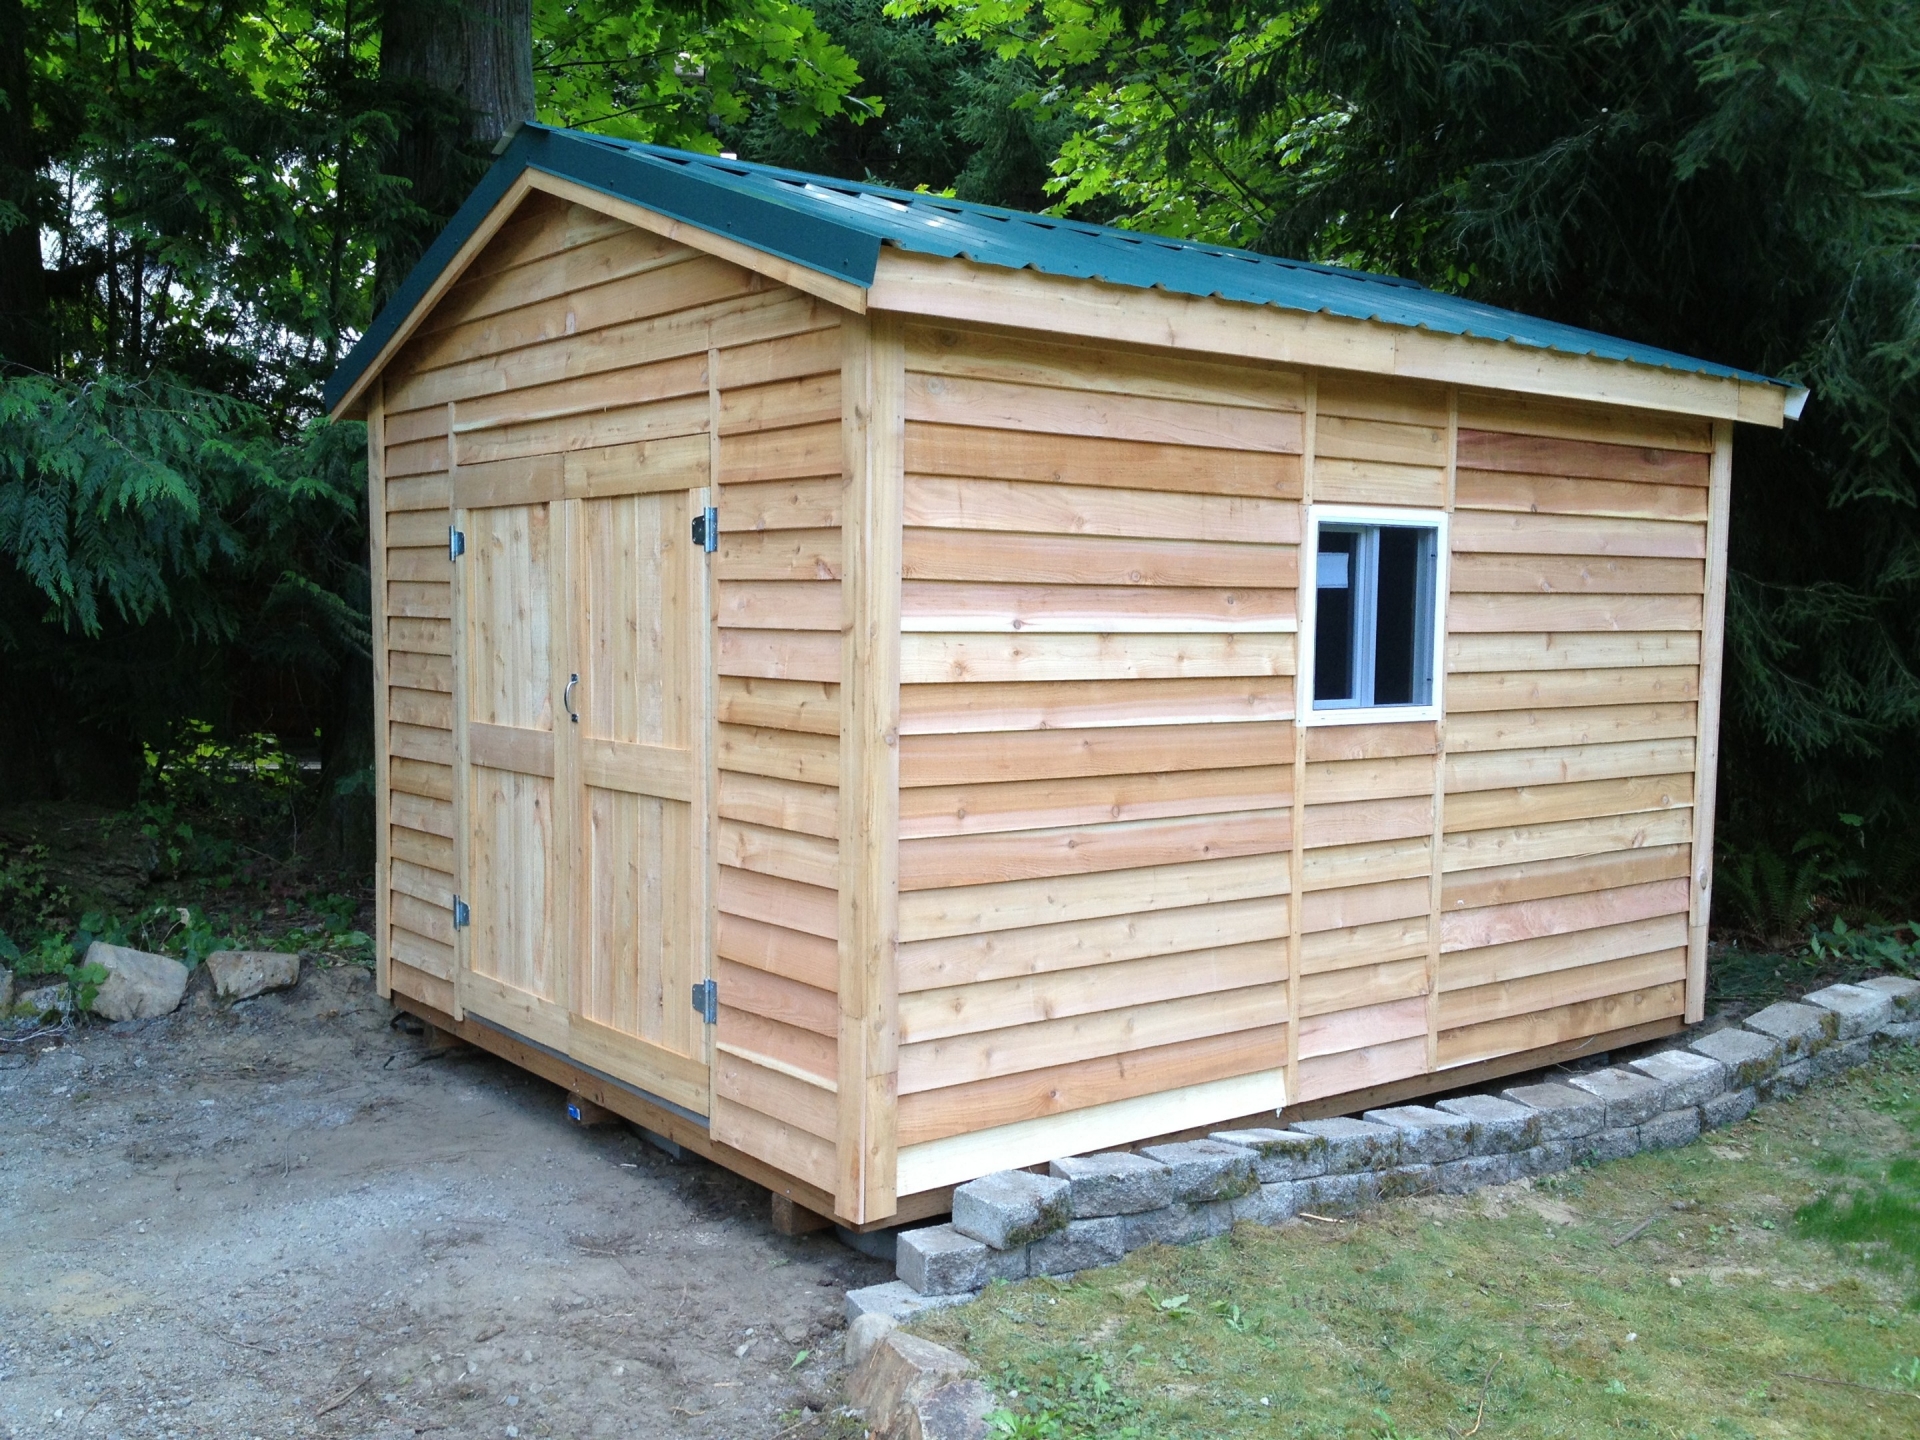
A diyer’s guide to building a 10x12 garden shed

Hey there, fellow DIY enthusiast! Tired of your gardening tools taking over the garage? Dreaming of a dedicated space to store your mower, potting bench, and all those extra garden goodies? Well, buckle up, because we're about to embark on a journey to build your very own 10x12 garden shed. No need to break the bank on a pre-made structure â€" we're doing this the DIY way!
Let's Get Started!
First things first, let's make sure you've got the right tools for the job. You'll need the basics:
Measuring Tape: This is your trusty sidekick. Measure twice, cut once, right?
Level: A level will ensure your shed stands tall and proud.
Circular Saw: For cutting lumber to size.
Hammer: For driving nails, of course!
Drill: For drilling pilot holes (makes life easier) and attaching hardware.
Safety Glasses & Gloves: Protect yourself!
Safety Gear: A helmet, hearing protection, and maybe even some work boots are good ideas.
Choosing the Right Materials:
Now, let's talk about the materials. The foundation of your shed is key:
Concrete Blocks: Strong, durable, and easy to work with.
Pressure-Treated Lumber: For the foundation, floor joists, and any parts that will be in contact with the ground. It's designed to resist rot and decay.
Next, let's build the frame:
2x4 Lumber: The backbone of your shed!
Plywood: For sheathing the walls and roof.
Roofing Shingles: For protection from the elements.
Exterior Siding: To give your shed a finished look.
Windows & Doors: Add some light and ventilation.
Laying the Foundation:
Now, let's get those concrete blocks laid out! Grab some gravel and compact it down. This will provide a level base for your blocks. Remember, you'll need to account for the thickness of the blocks when determining the overall dimensions of your shed.
Building the Floor:
Once the blocks are set, we can start building the floor. Cut and lay pressure-treated lumber for the floor joists, making sure they are level and spaced evenly. Attach them securely to the blocks with galvanized screws. Now, cover the joists with plywood for a solid floor.
Erecting the Walls:
Next, we move onto the walls. Measure and cut your 2x4s for the wall studs, and attach them to the floor joists. Create the openings for doors and windows, ensuring they're square and plumb. Now, sheathe the walls with plywood, ensuring you have a solid structure.
Roof Time!
Roof time! We'll be using a simple gable roof design. Cut the rafters and attach them to the wall plates. Remember to use a level to make sure the rafters are correctly angled. Sheathe the roof with plywood and lay down the roofing shingles. Voila! You've got a roof over your head (or rather, over your shed).
The Finishing Touches:
Time to make your shed look its best! Start by adding the siding. Choose a style that complements your garden. Then, install the doors and windows. Don't forget to add a little bit of trim to accentuate the edges. Finally, paint or stain your shed to your liking!
Bonus Tip: Consider adding a small deck or porch to your shed. This will give you an extra space to enjoy your garden and relax.
Important Reminders:
Safety First: Always wear safety glasses and gloves when working with power tools.
Measure Twice, Cut Once: A little extra precision goes a long way.
Seek Help if Needed: Don't be afraid to ask for help if you're struggling with a step.
Congratulations!
You've done it! You've built a beautiful and functional 10x12 garden shed. Now, go forth and organize your gardening tools, plant your favorite flowers, and enjoy the fruits of your labor! Remember, building a shed is a fun and rewarding project, so don't be afraid to get your hands dirty!
No comments:
Post a Comment
Note: only a member of this blog may post a comment.