Thursday, 21 November 2024
DIY Wood Pallet Shed: Affordable and Eco-Friendly Outdoor Storage

DIY Wood Pallet Shed: Affordable and Eco-Friendly Outdoor Storage
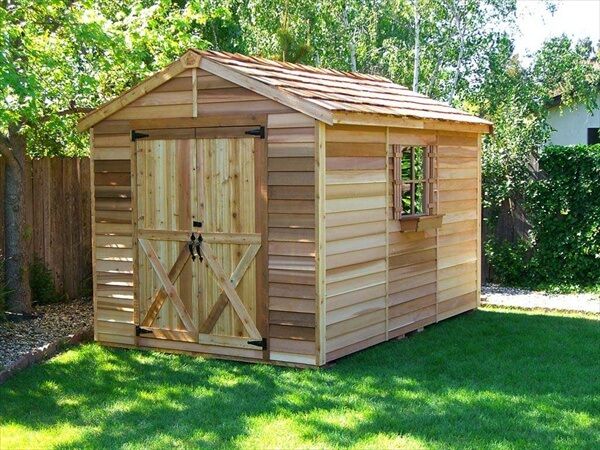
Tired of cluttered garages and overflowing tool sheds? Dreaming of a stylish and functional outdoor storage solution without breaking the bank? Then building your own shed from reclaimed wood pallets might be the perfect project for you! This guide will walk you through creating a charming and eco-conscious storage space, proving that sustainable living doesn't have to mean sacrificing style or practicality.
Planning Your Pallet Shed: Size, Location, and Materials
Before you dive into construction, careful planning is crucial. First, determine the ideal size for your shed based on your storage needs. Consider the dimensions of the pallets you'll be using; standard pallets typically measure around 48 inches by 40 inches. Sketch a basic design, factoring in the number of pallets you'll need for the walls, roof, and floor. Next, choose a suitable location. Ensure the ground is level and the area receives adequate sunlight for proper drying (crucial for wood pallet longevity). Finally, source your pallets! Inspect them thoroughly for damage and ensure they're free of hazardous materials before beginning construction. You'll likely need to source several palletsâ€"the exact number will depend on your chosen dimensions.
Gathering Your Tools and Materials
Essential Tools
Building your pallet shed requires a few essential tools. You'll need a sturdy hammer, a pry bar for dismantling pallets (if necessary), a circular saw or hand saw for cutting pallets to size, a drill with various drill bits for screwing and fastening, measuring tape for precise cuts and placement, levels for ensuring straight walls and a square roofline, and safety glasses and work gloves for personal protection. A nail gun can expedite the process significantly, but a hammer and nails are sufficient alternatives.
Essential Materials
Beyond the reclaimed wood pallets, gather additional materials. This includes strong screws, appropriate for outdoor use and capable of penetrating the pallet wood effectively, waterproof sealant to protect the wood from the elements (essential for the longevity of your structure), roofing felt or similar material for waterproofing the roof, and optional materials like hinges, a latch, and paint or stain for a customized finish. Remember to select exterior-grade screws and sealant designed to withstand weathering and potential moisture exposure.
Building Your Pallet Shed: A Step-by-Step Guide
Start by dismantling any pallets that are not in ideal condition. Carefully remove any loose nails or screws. Construct the floor frame using sturdy 2x4s or similar lumber, ensuring a level base. Next, build the walls by attaching pallets vertically, securing them with screws. Pay close attention to alignment and use levels frequently. Once the walls are complete, erect them onto the floor frame, further securing them with screws. For the roof, you'll need to construct a simple frame and cover it with roofing felt. Finally, add a door, hinges, and a latch to complete your DIY pallet shed. Remember to apply a waterproof sealant generously to all exposed surfaces to extend the lifespan of your structure and protect it from moisture damage.
Finishing Touches and Customization Options
Once the shed is built, personalize it! Consider adding a coat of paint or stain to match your existing outdoor décor or to protect the wood. You could also incorporate additional features, such as shelves for extra storage or a small window for ventilation. Think creativelyâ€"this is your chance to unleash your inner builder and create a unique storage solution. Remember, a personal touch can elevate a simple pallet shed into a stunning outdoor statement.
Embrace the Eco-Friendly Advantage
Building a pallet shed is not just affordable; it's also incredibly eco-friendly. By repurposing discarded materials, you're reducing waste and minimizing your environmental impact. This sustainable approach aligns with responsible resource management, allowing you to enjoy practical storage while contributing to a greener planet. The satisfaction of creating something useful from discarded materials adds another layer of reward to this project.
No comments:
Post a Comment
Note: only a member of this blog may post a comment.