Saturday, 9 November 2024
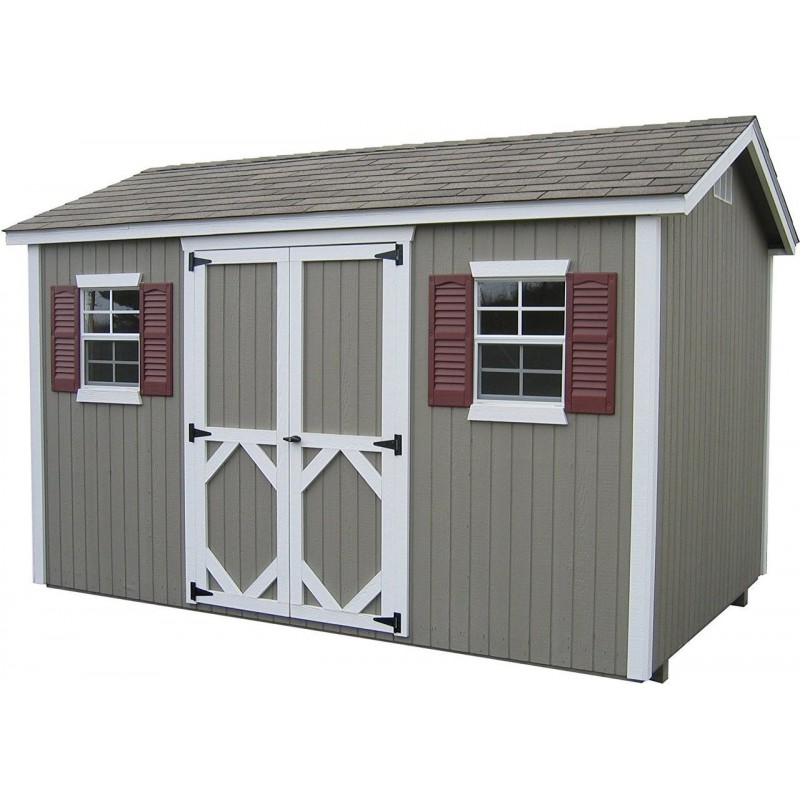
How to build a 10x12 garden shed that suits your space

Hey there, fellow garden enthusiast! Tired of tripping over tools and fighting for space in your garage? Building your own 10x12 garden shed is a fantastic way to organize your outdoor gear and create a dedicated haven for your green thumb. Let's dive into the details and make this project a breeze!
First Things First: Planning is Key
Before you start swinging a hammer, let's get organized. Here's what you need to consider:
Location, Location, Location: Where's the best spot for your shed? Think about sunlight, drainage, accessibility, and any potential hazards like overhead power lines. Check your local building codes to make sure you're following the rules.
Foundation: A sturdy foundation is crucial. You can go with a concrete slab, a gravel base, or even pressure-treated wood skids. Consider your budget and the soil conditions in your area.
Design and Materials: Do you want a simple shed with basic walls, or something more elaborate with windows and a fancy door? Choose materials that fit your style and budget â€" wood, metal, or even recycled materials can work!
Tools and Budget: Make a list of tools you'll need (from measuring tapes to power tools) and estimate your budget. Don't forget to factor in the cost of materials, permits, and any unexpected expenses.
Building the Foundation: The Groundwork for Success
A solid foundation is the backbone of your shed. Here's how you can tackle this step:
Concrete Slab: A classic choice! This provides the most stability and protects your shed from moisture. You'll need to pour a concrete slab according to the local building codes.
Gravel Base: A simpler and cost-effective option. Lay down a layer of gravel and compact it thoroughly for a strong base. Make sure it's leveled and has drainage to prevent water buildup.
Pressure-Treated Wood Skids: If you're on a tight budget, this is a great option. Use pressure-treated lumber for the skids to resist rot and insect damage. Make sure they're leveled and secured to the ground.
Framing Up Your Dream: The Skeleton of the Shed
Once your foundation is set, it's time to create the structure:
Framing Lumber: Choose sturdy lumber for the walls and roof. Consider using pressure-treated wood for the bottom plates to prevent rot.
Wall Framing: Construct the walls with vertical studs spaced 16 or 24 inches apart, depending on your building codes and the load the walls will bear.
Roof Framing: Choose a roof style that suits your design and budget. A simple gable roof is relatively easy to build. Use rafters to support the roof sheathing.
Sheathing: Cover the walls and roof with plywood or OSB sheathing for added strength and stability. This also provides a surface for the siding and roofing material.
Adding Personality: Siding, Roofing, and Windows
Now it's time to add the finishing touches to your shed:
Siding: Pick a siding material that complements your style and budget. Wood siding, vinyl siding, metal siding, and even composite materials are all options.
Roofing: Think about your climate and budget when choosing roofing. Asphalt shingles, metal roofing, or even cedar shakes are popular choices.
Windows: Windows provide natural light and ventilation. Consider the size, style, and placement of windows to best suit your needs.
Doors, Trim, and Finishing Touches
The final details make all the difference:
Doors: Choose a door that fits the style of your shed and provides easy access. You can go with a standard swing door, a sliding door, or even a double door.
Trim: Add trim around the windows, doors, and edges of your shed to create a polished look. You can use wood trim, vinyl trim, or even decorative trim.
Painting: Paint your shed in a color that complements your house or landscape. Consider using a primer to protect the wood and enhance the paint's durability.
Bonus Tip: Adding a Floor
For a more comfortable and finished look, you can add a floor to your shed:
Subfloor: Lay down plywood or OSB subfloor over your foundation or skids.
Finished Floor: Choose a flooring material that suits your needs and budget. Plywood, laminate flooring, or even tile flooring are all options.
Safety First: Remember the Essentials
Safety Gear: Always wear safety glasses, gloves, and appropriate clothing when working on your shed.
Power Tools: Use power tools responsibly and follow the manufacturer's instructions.
Building Codes: Check your local building codes to ensure your shed meets all the requirements.
Permits: Obtain any necessary permits before starting construction.
Your Backyard Oasis Awaits!
Building a 10x12 garden shed may seem daunting, but with careful planning, patience, and a bit of DIY spirit, you can create a truly amazing space. It's a project that will reward you with years of enjoyment and provide a perfect haven for all your gardening adventures! So, grab your tools, let your creativity flow, and get ready to build your own backyard oasis!
No comments:
Post a Comment
Note: only a member of this blog may post a comment.